这里使用的IDE是Myeclipse10,spring由Myeclipse自动导入。
配置文件applicationContext.xml:
<?xml version="1.0" encoding="UTF-8"?><beans xmlns="http://www.springframework.org/schema/beans" xmlns:xsi="http://www.w3.org/2001/XMLSchema-instance" xmlns:p="http://www.springframework.org/schema/p" xsi:schemaLocation="http://www.springframework.org/schema/beans http://www.springframework.org/schema/beans/spring-beans-3.0.xsd"><bean id="personService"></bean></beans>
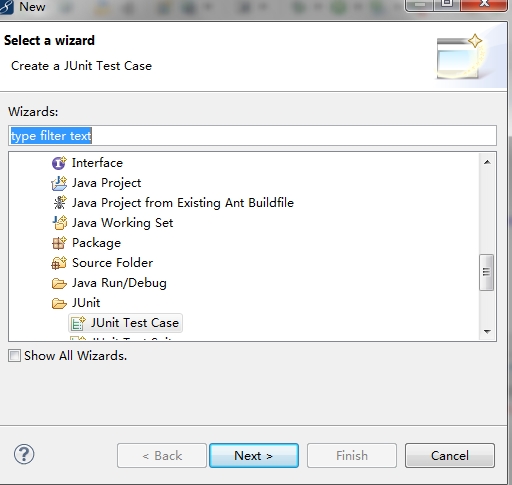
二、我们先来新建一个测试单元SpringTest。

SpringTest.java的代码:
package junit.test;import static org.junit.Assert.*;import org.junit.BeforeClass;import org.junit.Test;import org.springframework.context.ApplicationContext;import org.springframework.context.support.ClassPathXmlApplicationContext;import cn.itcast.service.PersonService;public class SpringTest { @BeforeClass public static void setUpBeforeClass() throws Exception { } @Test public void test() { ApplicationContext cxt=new ClassPathXmlApplicationContext("applicationContext.xml"); PersonService personService=(PersonService)cxt.getBean("personService"); personService.save(); }三、新建个PersonServiceBean.java
package cn.itcast.service.impl;import cn.itcast.service.PersonService;public class PersonServiceBean implements PersonService { /* (non-Javadoc) * @see cn.itcast.service.impl.PersonService#save() */ public void save(){ System.out.print("运行成功!"); }}asdPersonServiceBean.java的接口:
package cn.itcast.service;public interface PersonService { public abstract void save();}最后让SpringTest.java 在run As Junit Test运行,结果如下:

运行成功!
